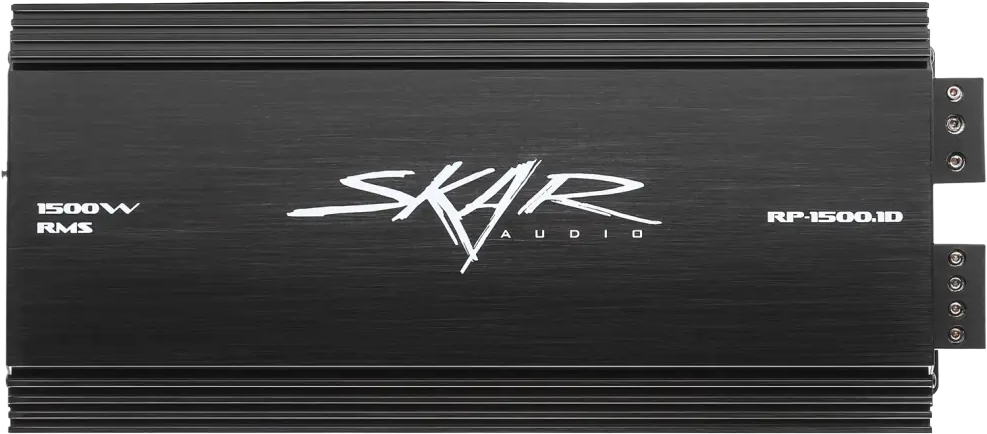

Amplifier Installation Guide
Install RP, SA Series, and SK-M amplifiers with the correct manual, fused power, grounding, signal connections, and speaker load.
This guide covers the installation basics for Skar Audio RP, SA Series, and SK-M Series amplifiers. Power wiring, input connectors, turn-on options, fuse requirements, and minimum speaker loads vary by model. Use the manual for the exact model printed on your amplifier.
Open the interactive subwoofer wiring diagrams to choose a visual diagram for your coil configuration, number of subwoofers, and final impedance.
Before you begin: Have a qualified installer perform the work if you cannot verify the vehicle wiring or make the required electrical measurements. Improper wiring or tuning can damage your equipment. Wiring any Skar Audio subwoofer or amplifier below 1 ohm will automatically void your warranty; some models require a higher minimum load.
Choose the correct model instructions
- RP Series owner's manual (PDF) and RP Marine owner's manual (PDF).
- SA Series: SA-50.4D manual (PDF), SA-125.4D manual (PDF), SA-1000.1D manual (PDF), and SA-1500.1D manual (PDF).
- SK-M Series owner's manual (PDF).
A monoblock's load rating does not apply to a four-channel or five-channel model. For example, SK-M5001D supports a 1-ohm mono load, while SK-M4004D requires at least 2 ohms per channel in stereo or 4 ohms bridged. SK-M9005D requires at least 2 ohms per channel or 4 ohms bridged on channels 1–4, and 2 ohms on channel 5.
Plan the installation
- Confirm the vehicle electrical system and the amplifier's operating requirements. Follow the vehicle manufacturer's battery-disconnection procedure, then disconnect the negative battery terminal before wiring.
- Choose a secure, dry mounting position with ventilation. Check behind every drilling location for wiring, fuel lines, brake lines, and safety equipment. Keep wiring clear of moving parts and use grommets where it passes through metal.
- Select the power cable, ground cable, distribution hardware, and fuse for the exact amplifier and cable run. Follow the manual's wire-size and fuse recommendations; do not cut cable strands to fit a terminal.
Connect power, ground, and turn-on
- Run the fused positive battery feed to the amplifier terminal labeled +12V or POWER. Install the correct main fuse within 18 inches of the battery; leave the fuse removed until the wiring has been checked.
- Connect GND to a short, secure, clean bare-metal chassis ground using the specified cable size. Do not use a seat-belt attachment as a ground. Confirm positive and ground terminal positions before inserting any quick-disconnect plug.
- For a conventional remote connection, connect the amplifier REM input to a suitable switched +12V turn-on output from the source unit or interface. A remote gain-control knob is a separate connection and does not replace the REM turn-on wire.
- Use automatic turn-on only when the exact model and input connection support it. The SA-125.4D and SA-1500.1D manuals specify that Auto Remote Turn On works with high-level inputs; RCA input setups require the appropriate remote turn-on connection.
Connect the audio signal and speakers
Connect the source unit's RCA outputs to the amplifier's RCA inputs with the system powered off. Route RCA cables away from high-current power cables. If retaining a factory radio, use a compatible high-level input where the amplifier supports it, or a suitable line output converter. Do not feed speaker-level output into an RCA input without the proper interface.
Connect each speaker positive and negative lead to the terminals identified in the model's diagram. Check the final impedance before applying power. Use only the documented bridge terminals on bridgeable models; never combine output channels or assume two amplifiers can be strapped. Review the DVC guide or SVC guide for subwoofer configurations.
Set levels and test
Check connections for exposed strands, shorts, correct polarity, and secure mounting. Start with amplifier gain at minimum and bass boost off. Refit the correct fuse and reconnect the battery according to the vehicle procedure. Confirm normal power-on before gradually testing sound.
Gain matches input sensitivity; it is not a volume control. Set gain with suitable test equipment and set the crossover for the connected speakers or subwoofer and enclosure. Use the amplifier settings guide together with the exact model manual. Stop if the amplifier enters protection, wiring becomes hot, or sound distorts. Check supply voltage, grounding, speaker load, and signal wiring before trying again.
For a missing manual, uncertain connector, or vehicle-specific installation question, contact Skar Audio support before making the connection.